Users
Manage all workspace members — invite new users, assign roles and departments, set reporting lines, and deactivate accounts.
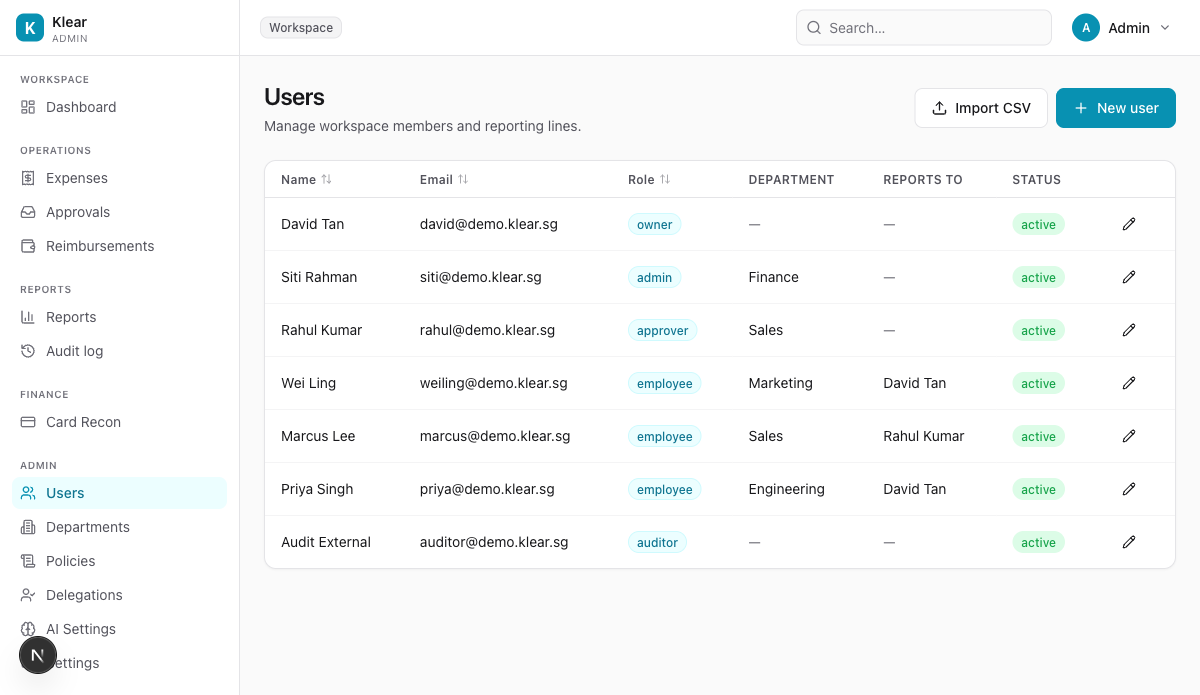
Invite a new user
Click + New user to open the invite modal.
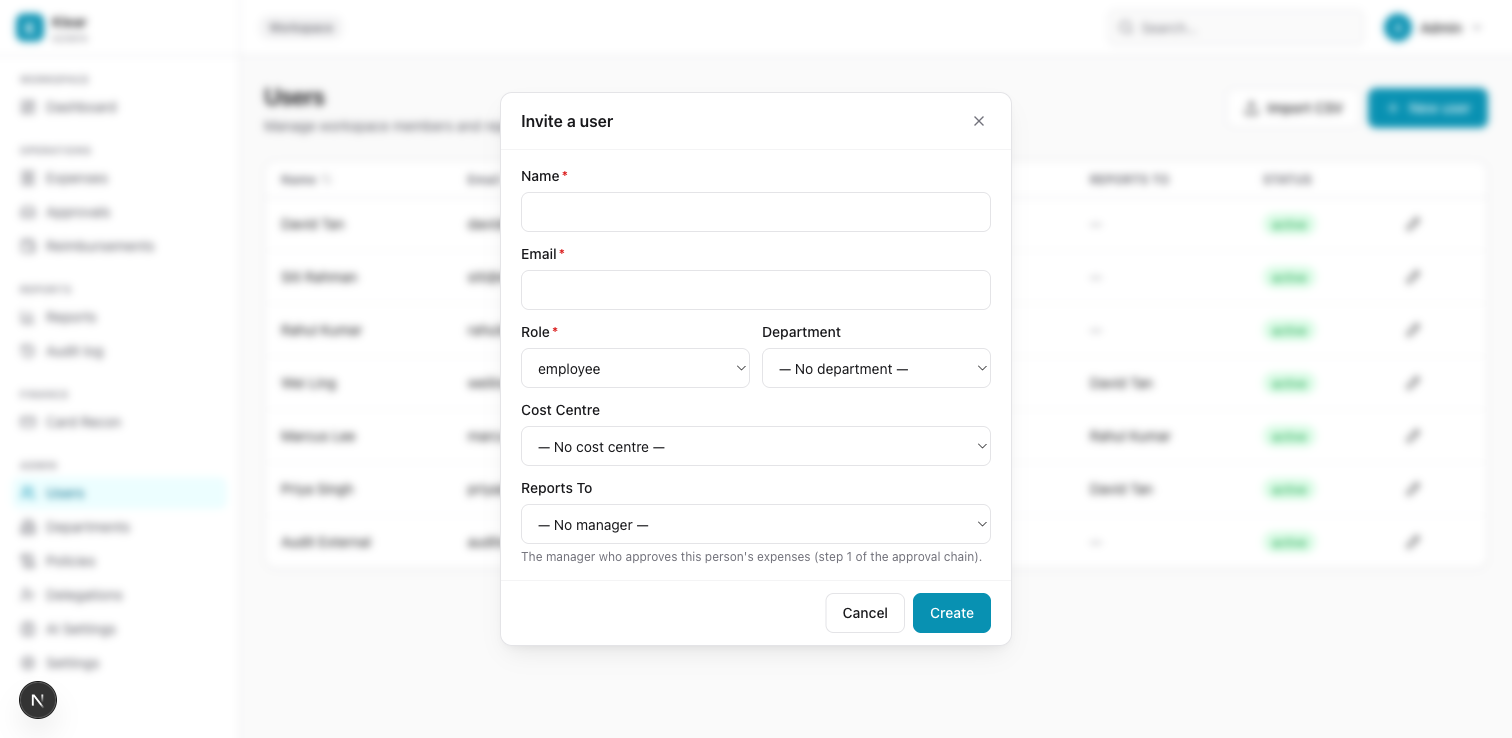
Fill in each field:
| Field | Required | Notes |
|---|---|---|
| Name | Yes | Full name shown across the platform |
| Yes | Work email — used for login and notifications | |
| Role | Yes | employee, approver, admin, owner, or auditor |
| Department | No | Assigns the user to a department for reporting and policy scoping |
| Cost Centre | No | Optional third-level grouping (v1.5 full support) |
| Reports To | No | The manager who becomes step 1 of this user's approval chain |
The Reports To field controls who approves this person's expenses as the first chain step. Leave it blank only if a custom policy chain handles all routing.
Click Create. The user receives an email invitation to set their password.
Bulk import via CSV
For onboarding multiple users at once, click Import CSV.
- Download the template from the import dialog
- Fill in columns:
name,email,role,department,reports_to_email - Upload the completed file
Rows with validation errors are reported back. Valid rows import immediately.
Edit a user
Click the pencil icon on any row to edit name, role, department, cost centre, or reporting line. Changes take effect immediately on the user's next action.
Changing Reports To only affects future expense submissions. Expenses already in the approval chain continue on their existing routing.
Deactivate a user
Open the edit modal and set Status to Inactive. The user can no longer log in. Their historical expenses, approvals, and audit entries remain fully visible.
Role capabilities
| Role | Can submit expenses | Can approve | Can manage users/policies | Full admin access |
|---|---|---|---|---|
| Employee | Yes | No | No | No |
| Approver | Yes | Yes (in-scope) | No | No |
| Admin | Yes | Yes | Yes | No |
| Owner | Yes | Yes | Yes | Yes |
| Auditor | No | No | No | Read-only |